OpenLDAP Server on Debian or Ubuntu
1 Preliminary Note
This tutorial is based on Debian 7.6 server, so you should set up a basic Debian 7.6 server installation before you continue with this tutorial. The system should have a static IP address. I use 192.168.0.100 as my IP address in this tutorial and server1.example.com as the hostname. I am using root credentials for installations, you can use sudo before the commands if you are installing it without root.
Note:The guide can be used for both Ubuntu/Debian server.
2 Install OpenLDAP
2.1 OpenLDAP installation
We will install OpenLDAP as follows:
apt-get update
apt-get install slapd ldap-utils
apt-get install slapd ldap-utils
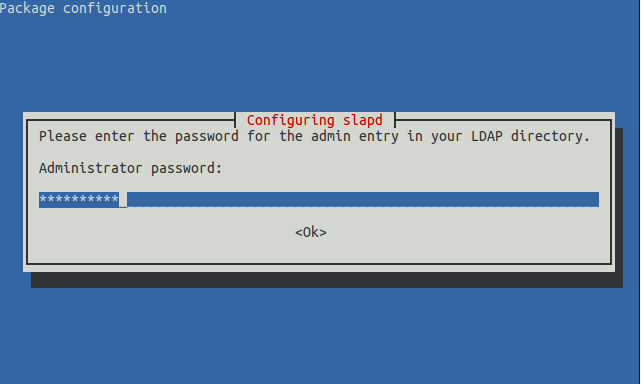
Put the password and press OK. I am using password howtoforge, input your desired password.
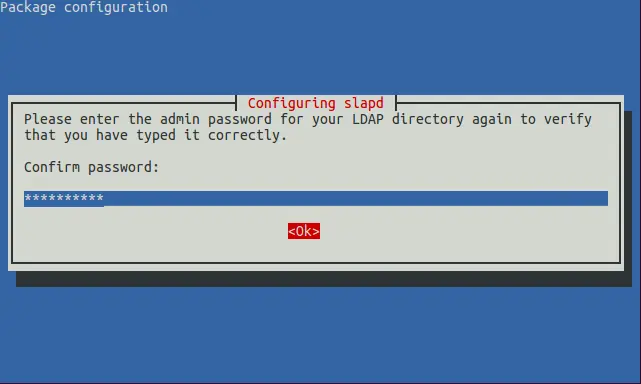
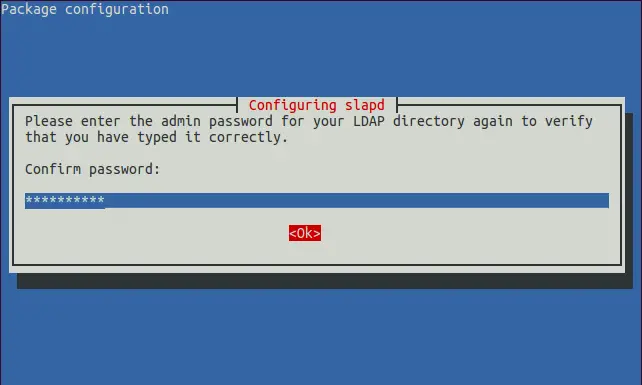
Confirm the password and press OK.
2.2 OpenLDAP Configuration
Now we will edit the configuration file to make the OpenLDAP server according to our environment.
nano /etc/ldap/ldap.conf
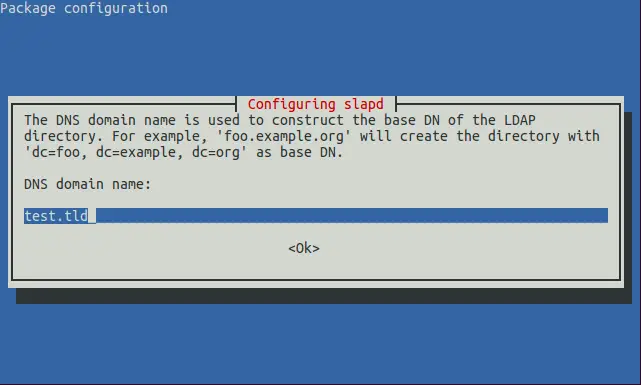
Give the entries as follows:# # LDAP Defaults # # See ldap.conf(5) for details # This file should be world readable but not world writable. BASE dc=example,dc=com URI ldap://192.168.0.100 ldap://192.168.0.100:666 #SIZELIMIT 12 #TIMELIMIT 15 #DEREF never # TLS certificates (needed for GnuTLS) TLS_CACERT /etc/ssl/certs/ca-certificates.crt |
Note in my case hostname was server1.example.com so my dc=example and dc=com
Save the file and run the following command to reconfigure the LDAP package.
dpkg-reconfigure slapd
It will ask some questionnaire, we will choose the values as follows:
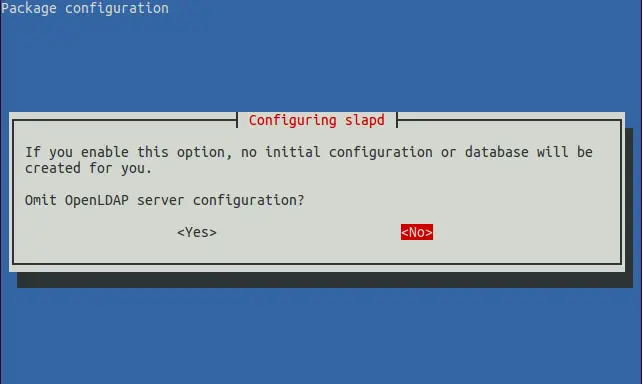
Select No:
Select Ok:
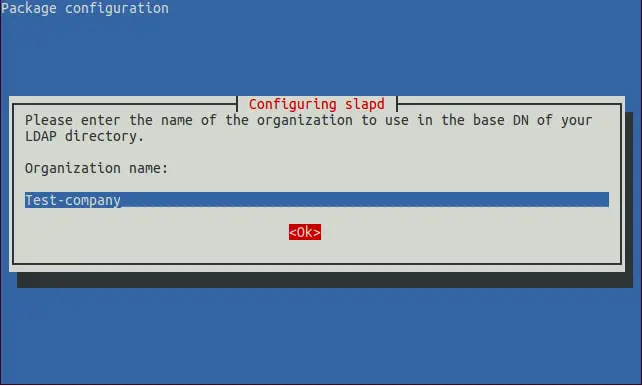
Give any name as per your needs, in my case I am using Test-company as the company name. Further press Ok.
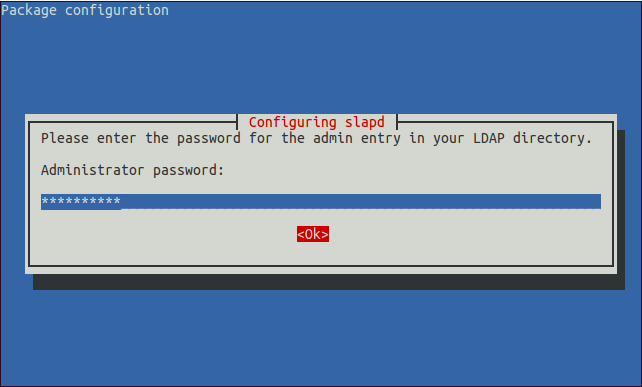
Give an administrative password, and confirm the same.
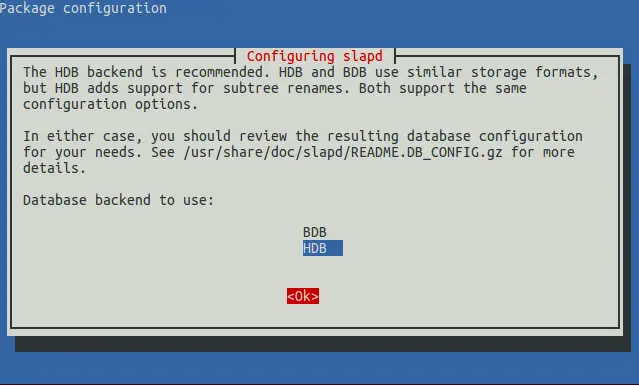
Select HDB and press Ok.
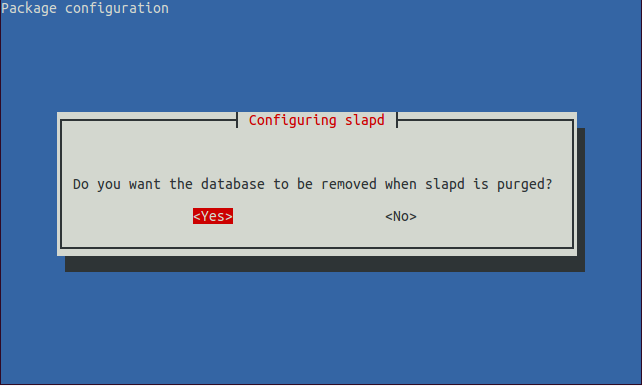
Select Yes.
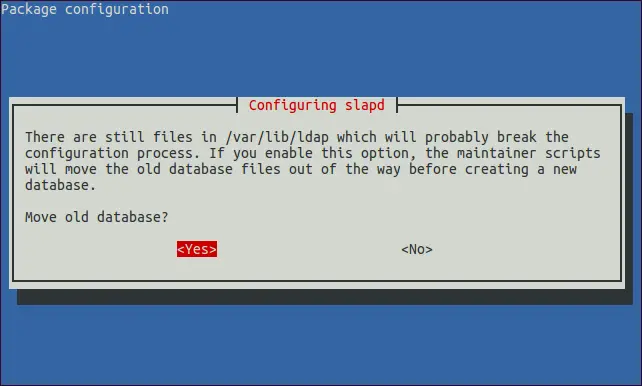
Again select Yes and move the old database files.
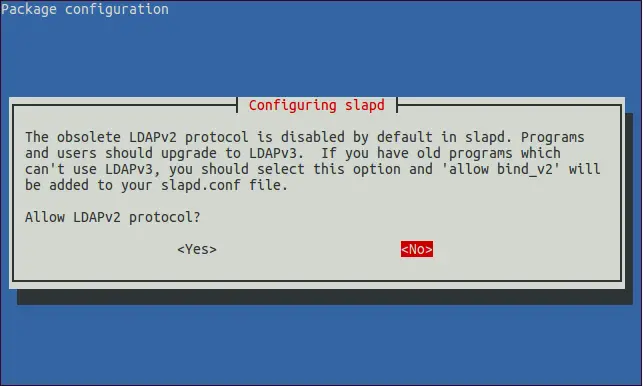
We don't want to use LDAPv2 protocol so select No. Now we are done with the configuration, we can check that our installation have all gone well with the command:
ldapsearch -x
It will show output like this:root@server1:~# ldapsearch -x
# extended LDIF
#
# LDAPv3
# base <dc=example,dc=com> (default) with scope subtree
# filter: (objectclass=*)
# requesting: ALL
#
# example.com
dn: dc=example,dc=com
objectClass: top
objectClass: dcObject
objectClass: organization
o: Test-company
dc: example
# admin, example.com
dn: cn=admin,dc=example,dc=com
objectClass: simpleSecurityObject
objectClass: organizationalRole
cn: admin
description: LDAP administrator
# search result
search: 2
result: 0 Success
# numResponses: 3
# numEntries: 2
root@server1:~#
It shows successful configuration for the OpenLDAP server.
3 phpLDAPadmin installation
We can administrate the OpenLDAP with commands, but to make it an easier task I will install phpLDAPadmin. We need to have an Apache server and php installed before phpLDAPadmin installation:
apt-get install apache2 php5 php5-mysql
Next we can install phpLDAPadmin as follows:
apt-get install phpldapadmin
Now we need to modify phpLDAPadmin in accordance to our server requirement so that it will get controlled through it, edit the file /etc/phpldapadmin/config.php and give the values like this:
nano /etc/phpldapadmin/config.php
Values will be like this:
[...]
$servers = new Datastore();
$servers->newServer('ldap_pla');
$servers->setValue('server','name','Test-company LDAP');
$servers->setValue('server','host','127.0.0.1');
$servers->setValue('server','base',array('dc=example,dc=com'));
$servers->setValue('login','bind_id','cn=admin,dc=example,dc=com');
?>
|
Note: In above file dc will vary according to your hostname, i have given my company name as Test-company you can use other name as per your choice.
Now open the link http://192.168.0.100/phpldapadmin in any browser of your choice.
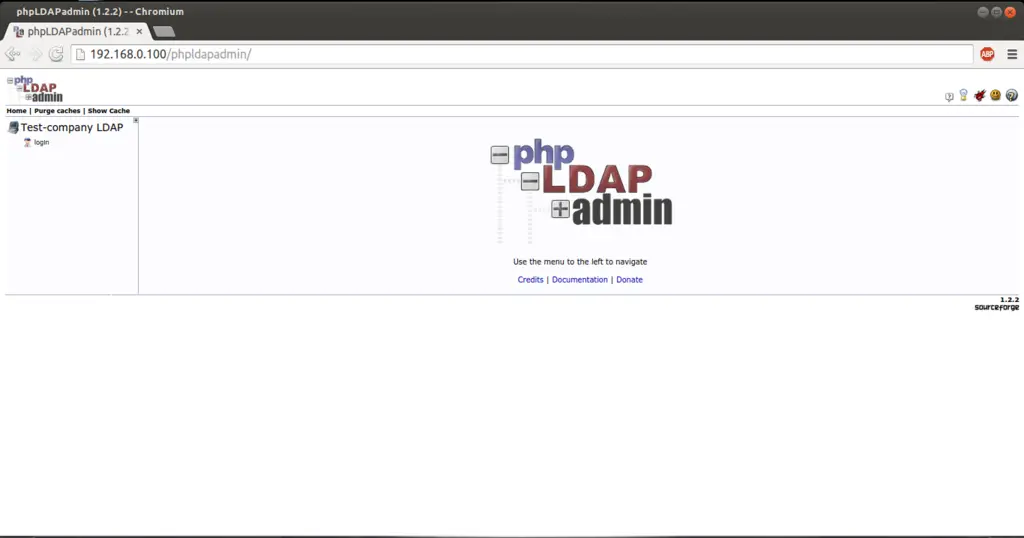

Put the password used at the time of modifying the LDAP, in my case user=admin(it is preselected) and password=howtoforge.
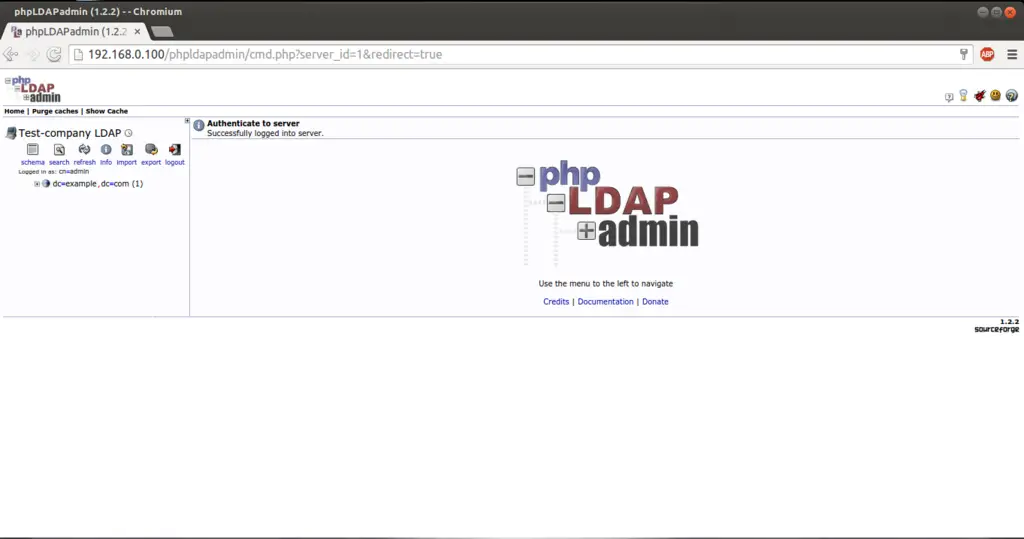
It will be your default welcome page.
4 Adding accounts in LDAP
Next we will create a test entry in the LDAP server and verify the settings in admin panel itself. Suppose we are in a corporate company and we want to classify different teams with different team stucture, such as Teachnical-team, Accounts Department an HR department etc. Now click on+ sign dc=example, dc=com and at cn=admin select Create a child entry.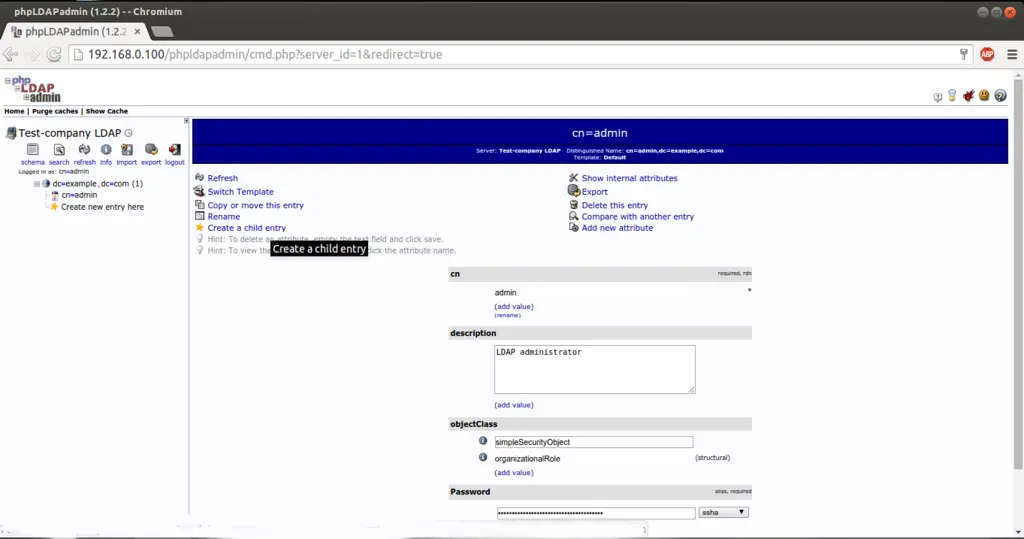
To have such functionality in LDAP select Generic: Posix Group
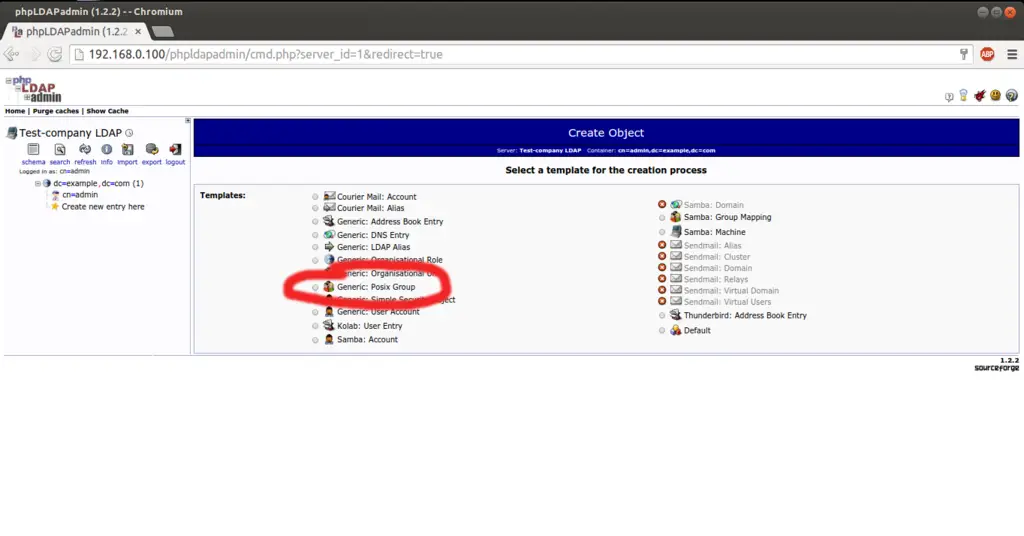
Next you will be redirected as:
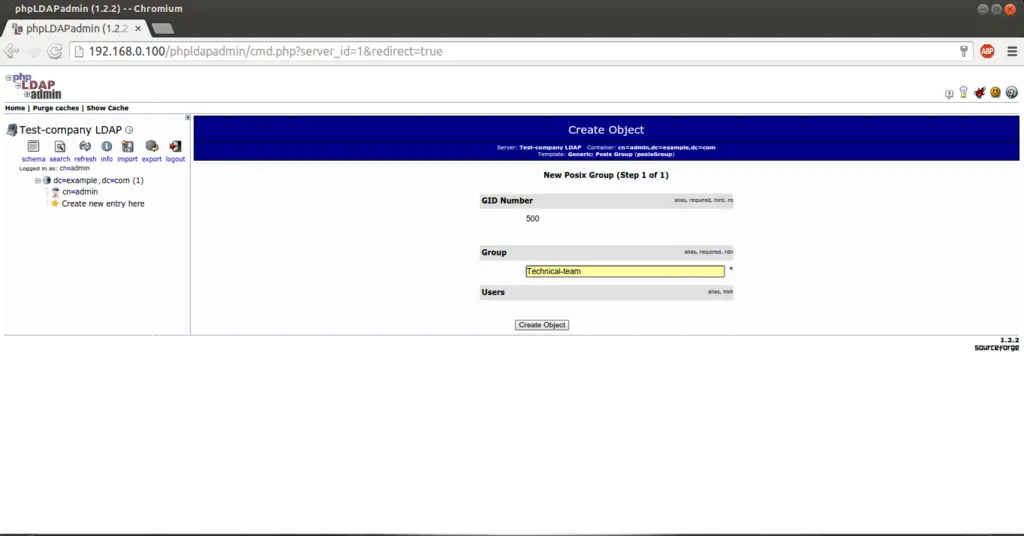
I am just taking an example, and adding a test entry for Technical-team as my group. Press Create Object.
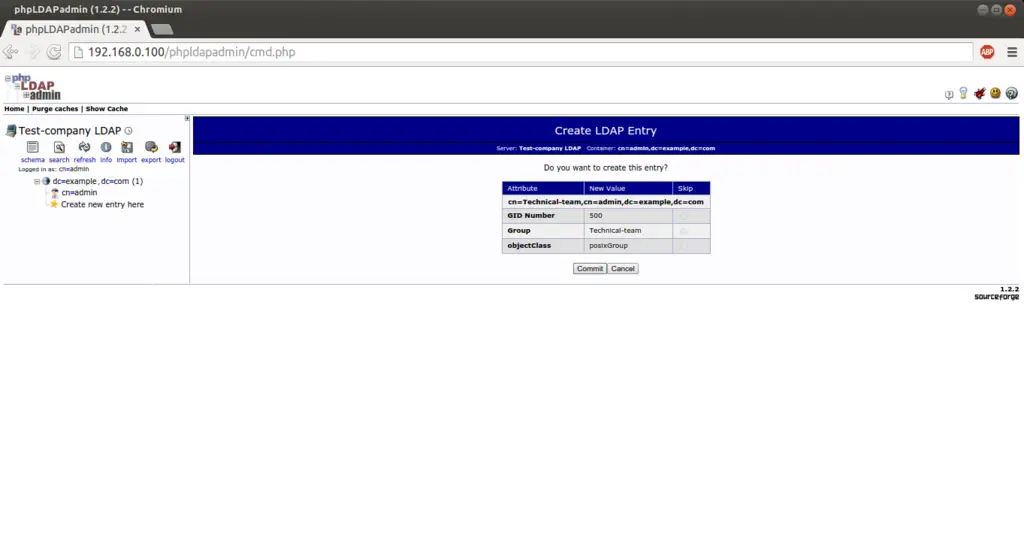
Verify the things and Press Commit.
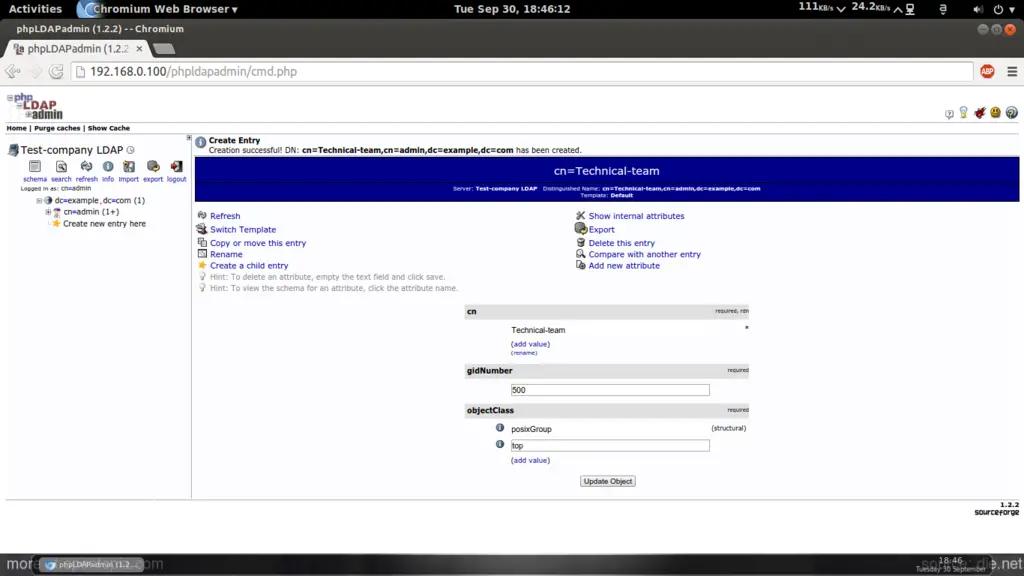
It will create the group As Technical-team, similarily we can create other groups as per our corporate structure.
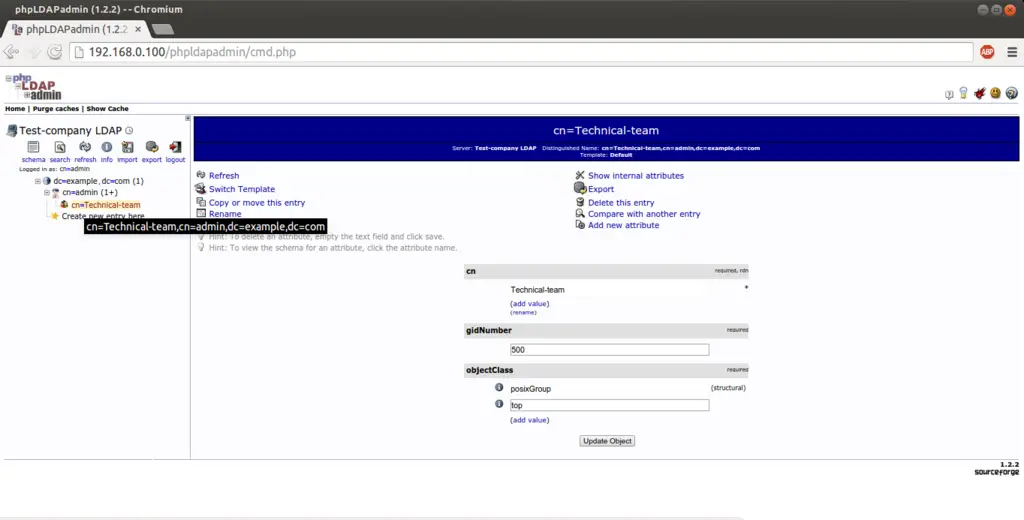
We can check the groups under cn=admin similarily add other groups as per our needs.
Congratulations! Now we have successfully configured OpenLDAP in Debian Wheezy :)
5 Links
- Debian : https://www.debian.org/
- Ubuntu : http://www.ubuntu.com/
- OpenLDAP : http://www.openldap.org/


Comments
Post a Comment